Leather education · Galway
Leather Damage Stages
From everyday wear to serious damage — understand what is happening to your leather before it is too late.
Leather damage usually develops gradually. Early signs may be easy to overlook, but continued friction, contamination, unsuitable cleaning products, excessive moisture and general wear can progressively affect the surface and, eventually, the material itself.
Early professional intervention may help preserve more of the original material and can often make restoration simpler.
Every interior is different: the rate and type of deterioration depends on the leather, its protective finish, usage, maintenance, friction, contamination and previous treatments. Not every leather follows exactly the same progression.
Stage 1 of 6
Stage 1 — Normal Wear
Daily use naturally causes some change to automotive leather. High-contact areas such as steering wheels, seat bolsters, armrests and gear selectors may gradually develop a different sheen or feel.
Signs
- Slight change in surface sheen
- Light marks from everyday use
- Minor colour variation
- No significant cracking
Professional advice: At this stage, correct cleaning and maintenance are particularly important because prevention is easier than restoration.
Stage 2 of 6
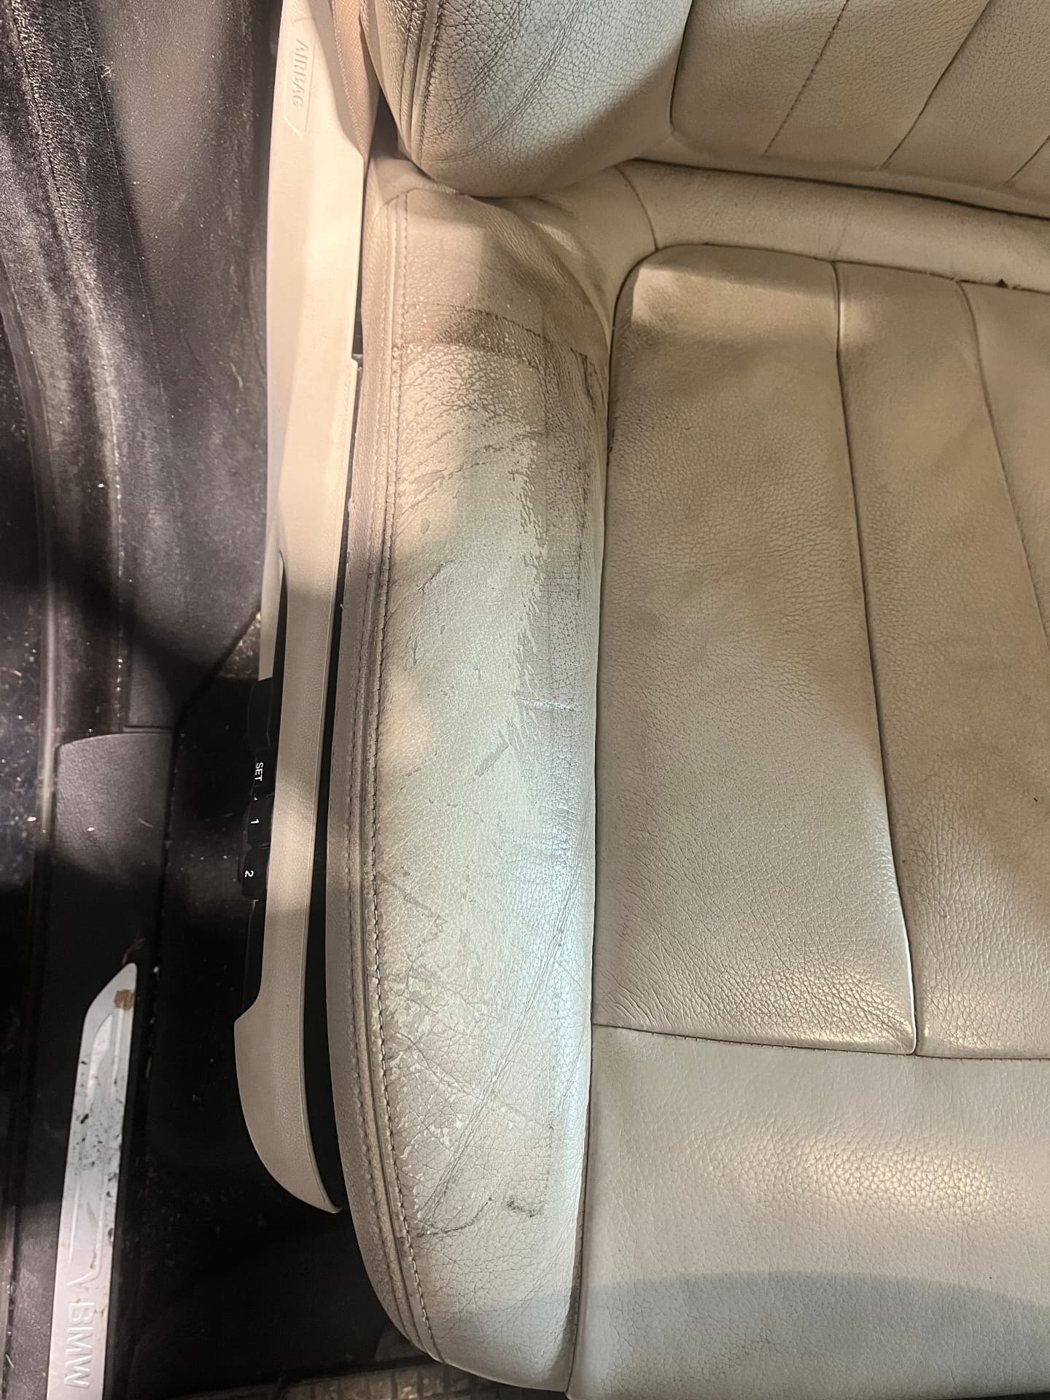
Stage 2 — Surface & Finish Wear
The protective surface finish begins to show more noticeable wear, especially in areas exposed to constant friction.
Signs
- Increased shine or dullness
- More visible surface marks
- Change in texture
- Early loss of colour consistency
Professional advice: This is often a good time to have the leather assessed before more significant damage develops.
Stage 3 of 6
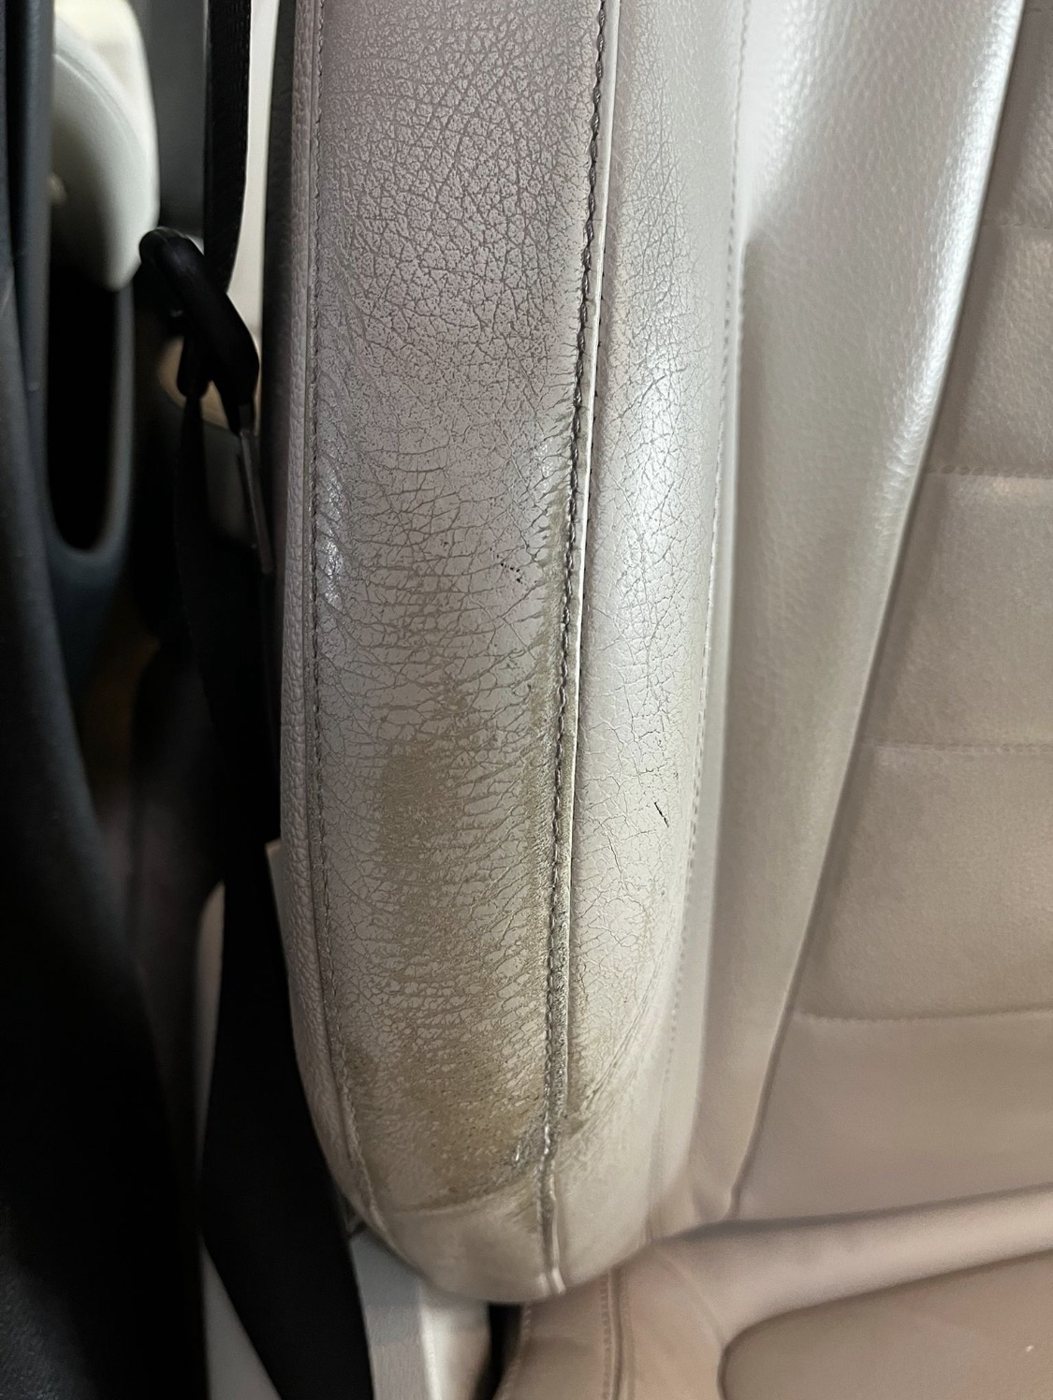
Stage 3 — Colour Loss
Repeated friction and surface wear can cause the original colour to become thinner or uneven, particularly on steering wheels, seat bolsters and other high-contact areas.
Signs
- Visible colour loss
- Lighter or darker patches
- Uneven appearance
- Increased visibility of the underlying surface
Professional advice: Professional recolouring can restore the appearance when the underlying material remains suitable for restoration.
Stage 4 of 6
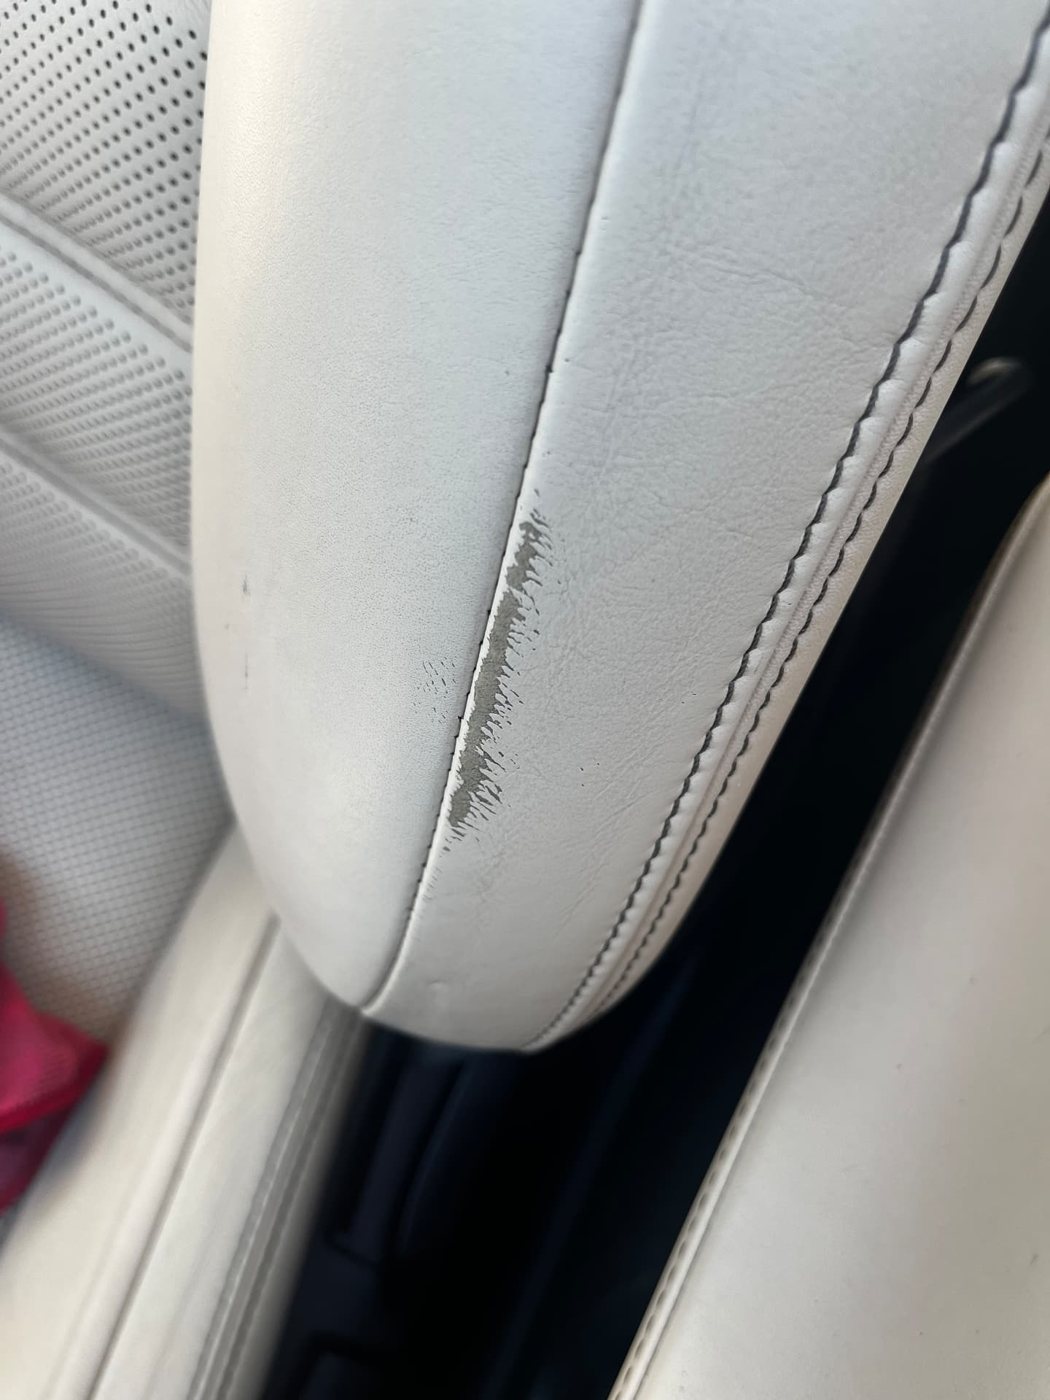
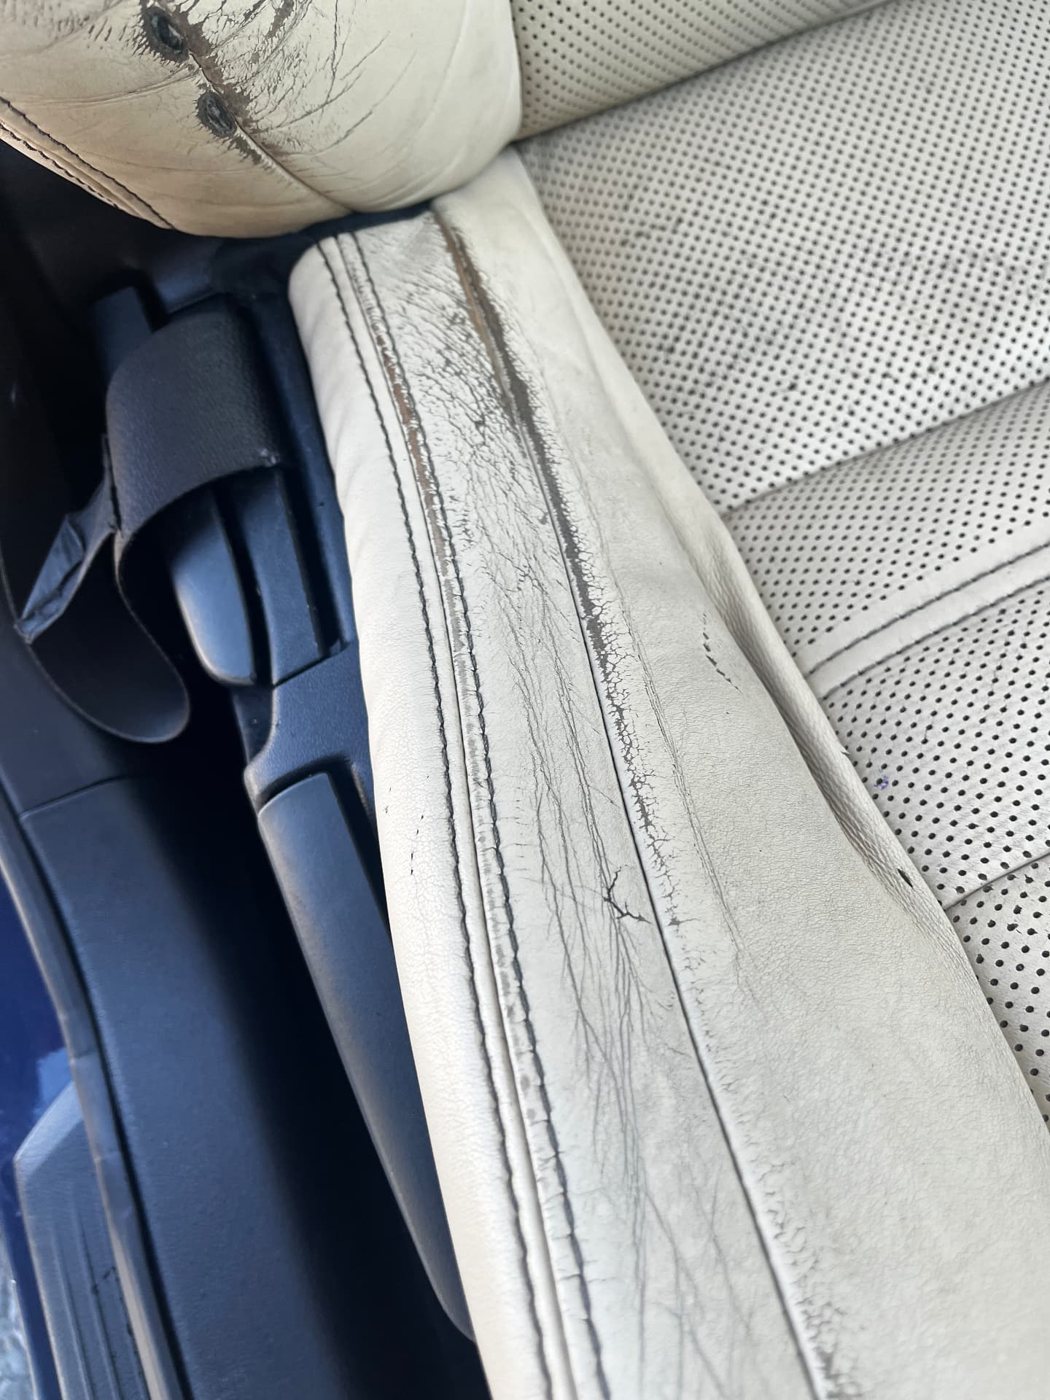
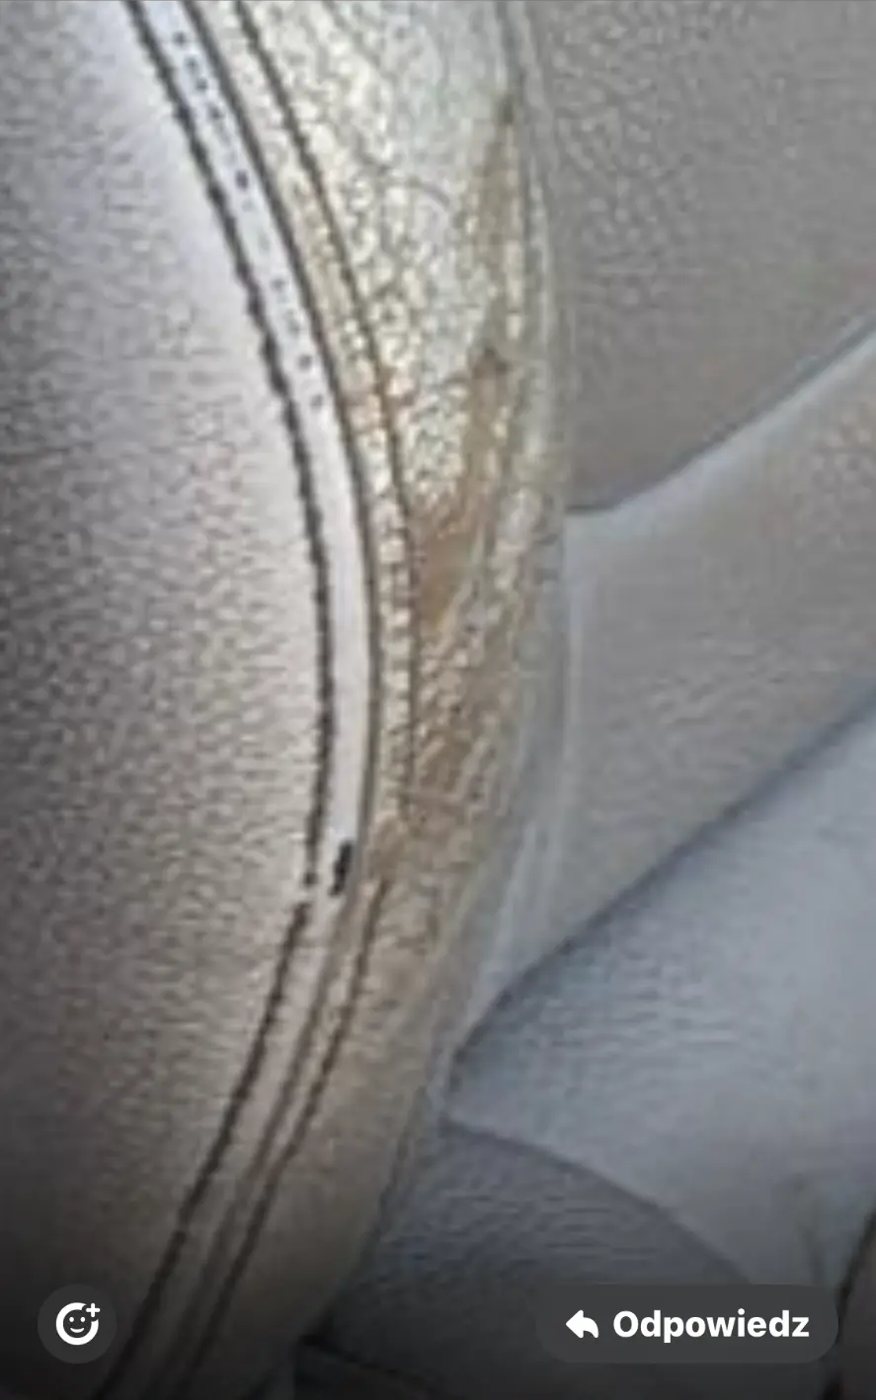
Stage 4 — Surface Cracking
Small cracks can begin to appear as the surface becomes more worn and less able to withstand repeated flexing and friction.
Signs
- Fine cracks
- Small lines around high-contact areas
- Cracking around folds
- Rougher surface texture
Important: Do not aggressively scrub or attempt to remove cracks with abrasive products. This can remove additional material from the surface.
Stage 5 of 6
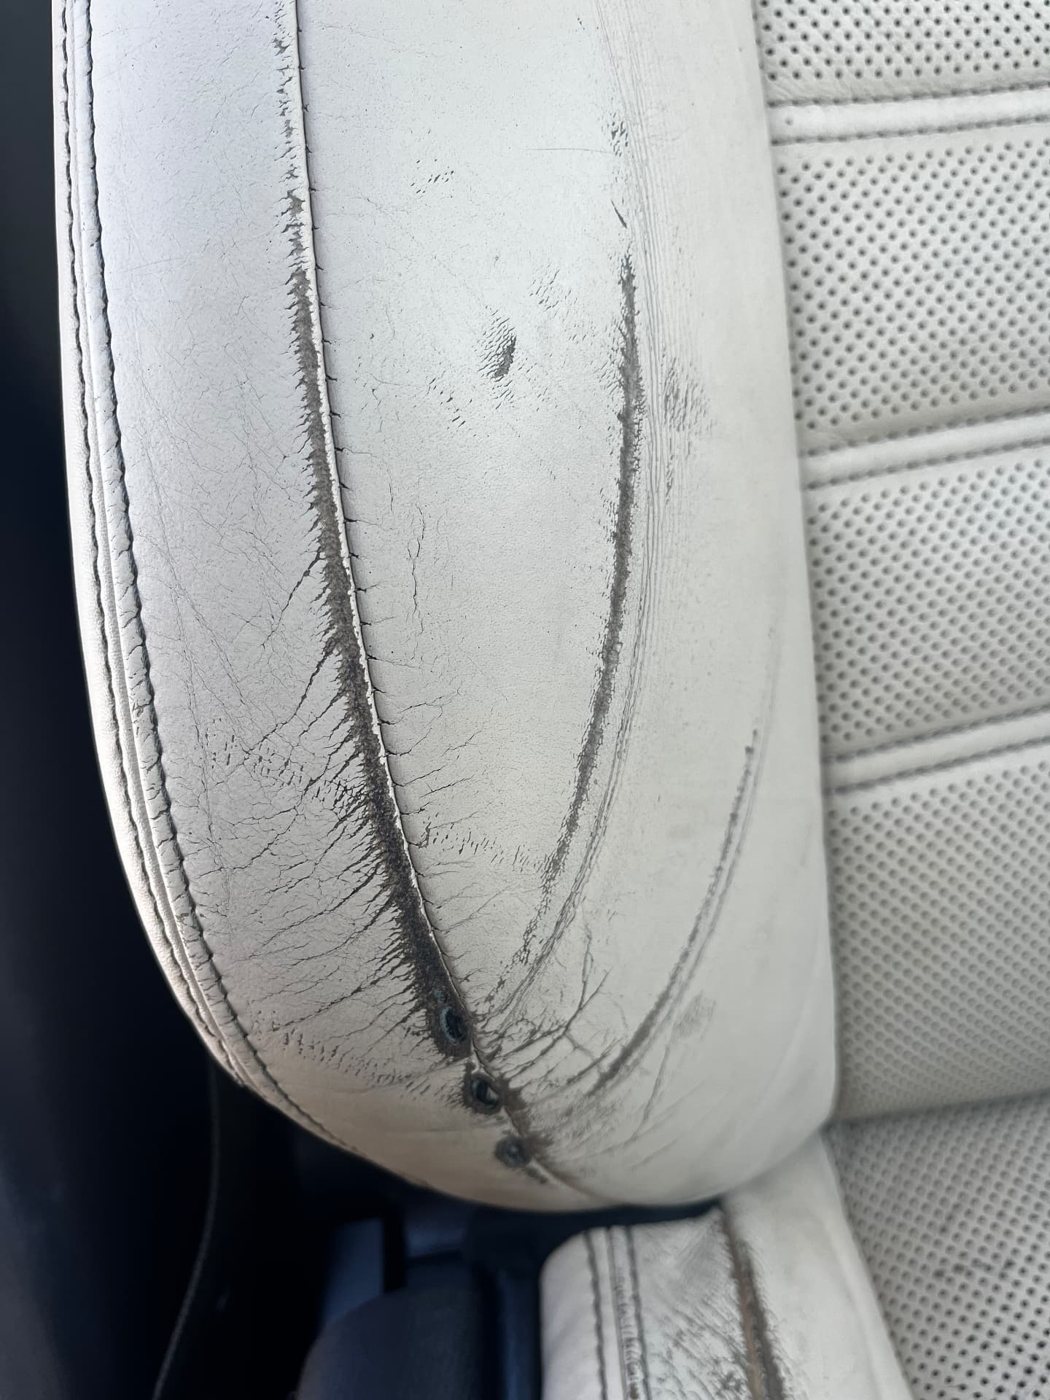
Stage 5 — Deep Cracking
Cracks can become deeper and more pronounced. At this stage the damage may extend beyond the surface finish and involve the leather itself or the underlying structure.
Signs
- Deep visible cracks
- Splitting
- Peeling
- Loss of surface material
- Increasingly rough or damaged texture
Professional advice: The appropriate repair method depends on the depth and location of the damage.
Stage 6 of 6
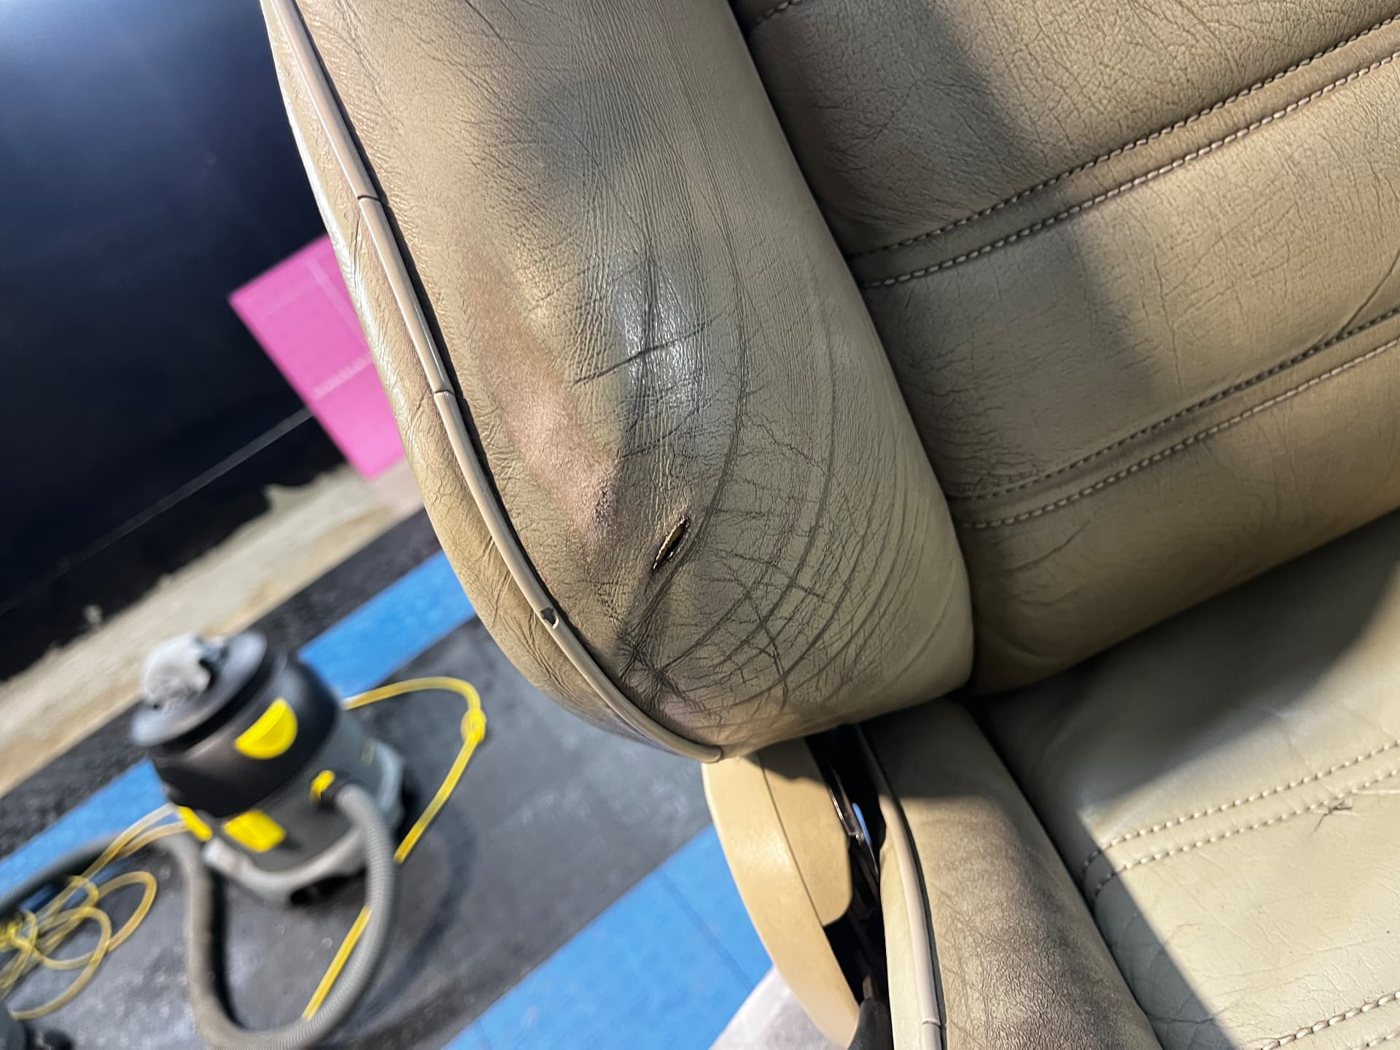
Stage 6 — Open Damage
When the material is actually broken or missing, the problem is no longer simply surface wear or colour loss.
Signs
- Open cracks
- Tears
- Holes
- Missing material
- Exposed underlying material or foam
Professional advice: Depending on the damage, professional repair may involve filling, reconstruction, reinforcement, recolouring or replacement of the affected section.
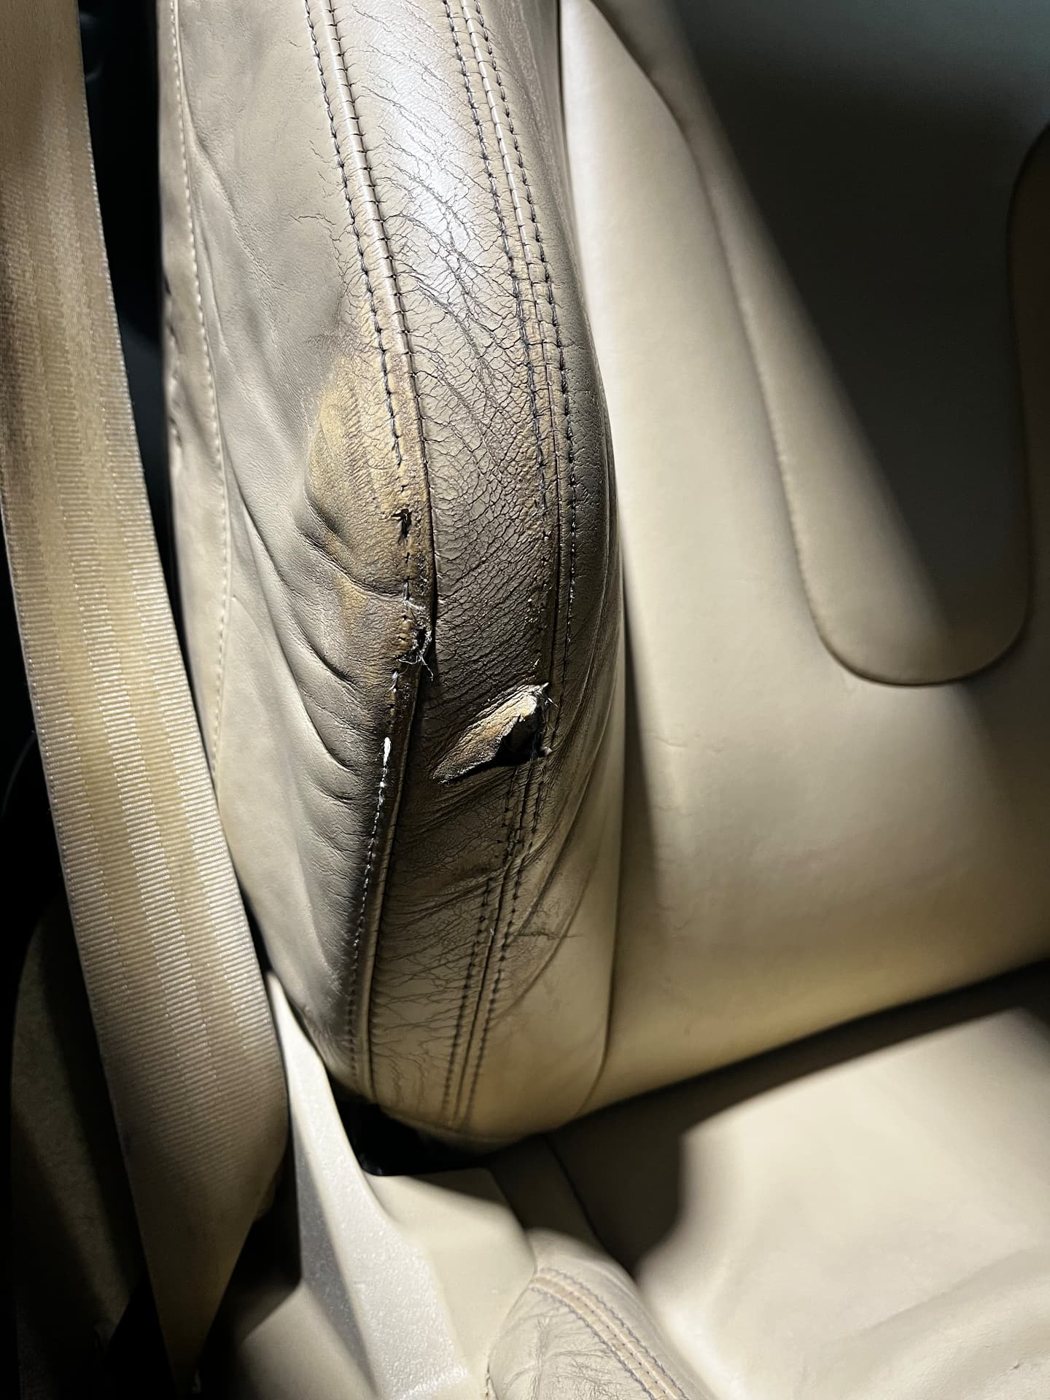
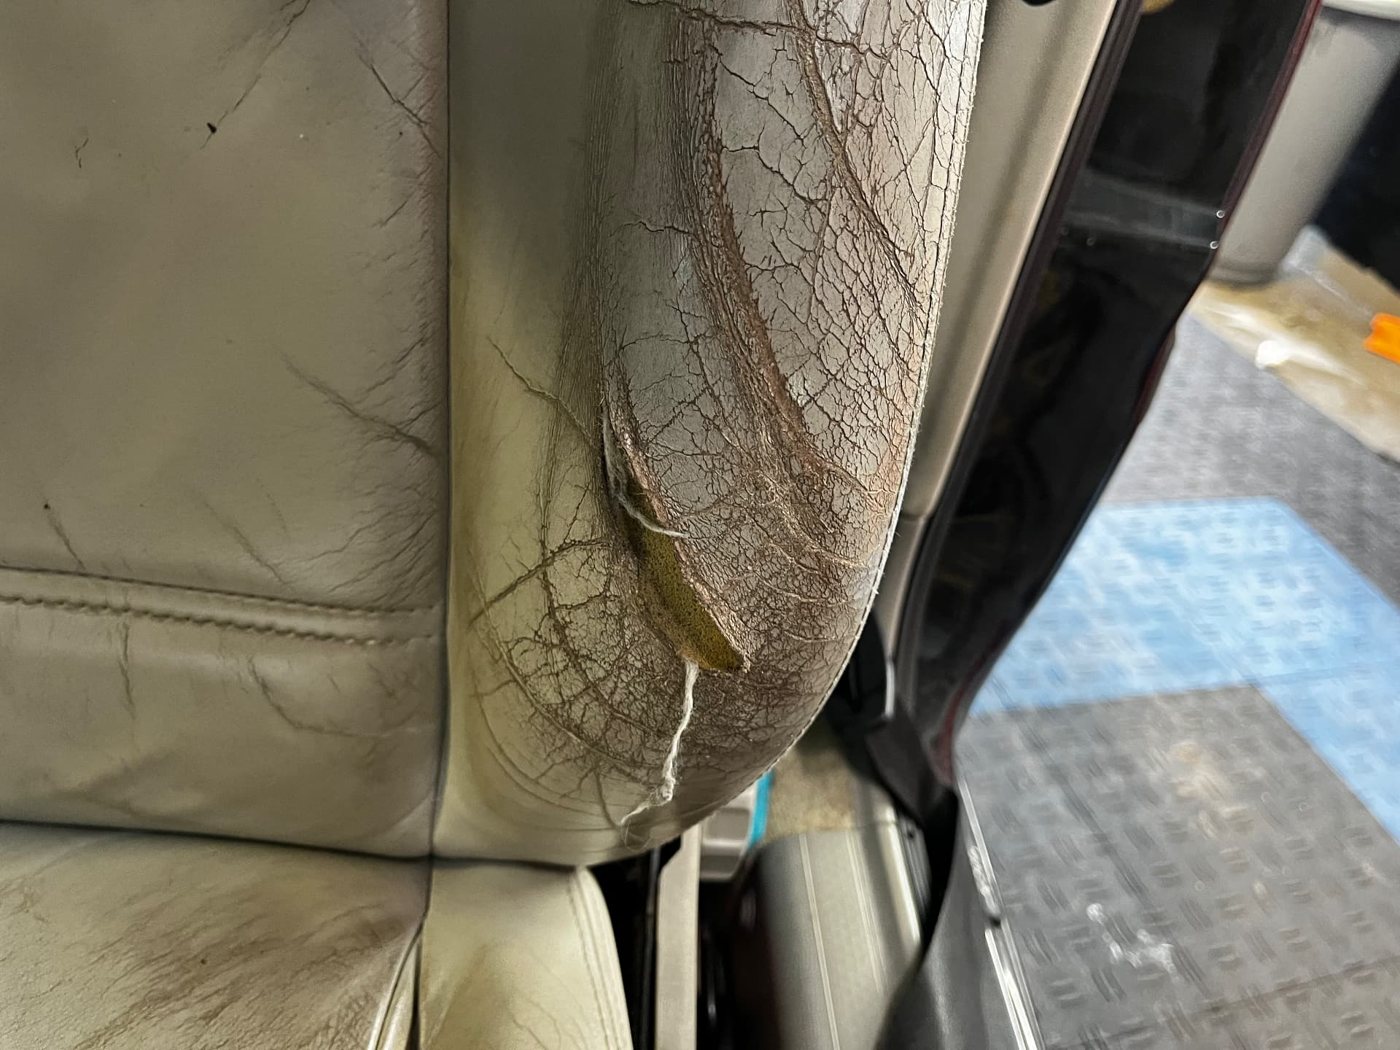
Don’t wait until it becomes a hole
The earlier leather damage is assessed, the more options may be available for restoring the original appearance. Once material has been lost, the repair becomes more complex.
If you notice the first signs of cracking, colour loss or peeling, send us photographs before trying aggressive cleaning products yourself.
Is your leather showing these signs?
Not sure which stage your leather is at? Send us a few clear photographs and we can advise you on the next step.
Get a quote